Connect Nuki
Every space opens its doors through its own Nuki account. Until one is connected, every door unlock fails.
Your space opens doors through the Nuki account that owns its locks. You store a Web API token for that. selfdesk verifies the token with Nuki before saving it and keeps it encrypted.
Before you start: you need access to the Nuki Web account that owns this space's locks. A token from a different account cannot see your locks.
- Open Setup and tap Locks (Nuki) in the Connections section.
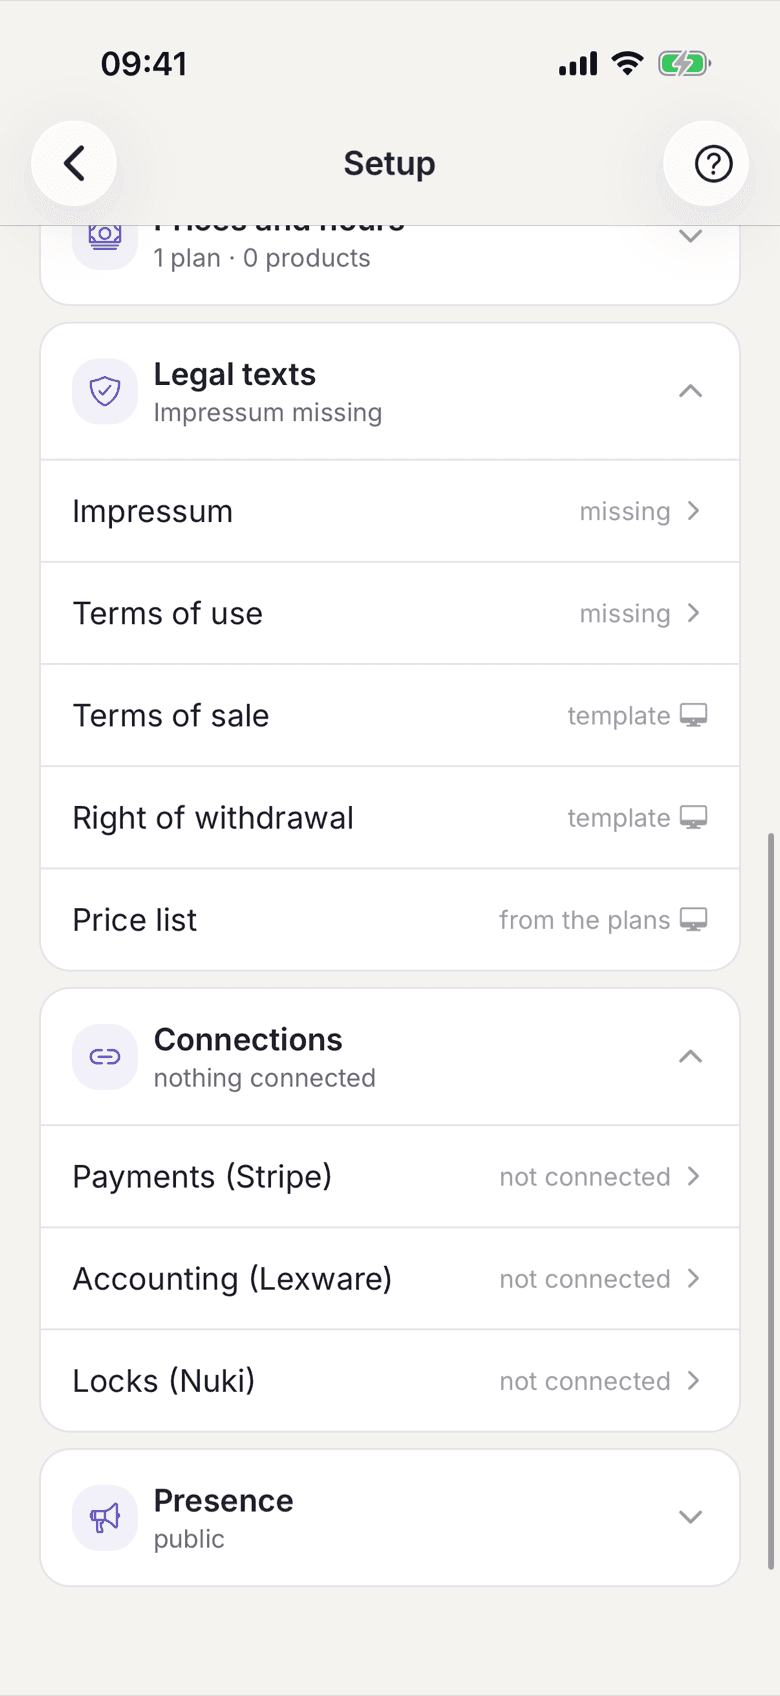
Setup with the Locks (Nuki) row in the Connections section - Sign in to Nuki Web with the account that owns this space's locks. The button Open Nuki Web API settings takes you straight there.
- In Nuki Web, open MENU > API and generate a Web API token.
- Paste it into the Nuki Web API token field and tap Connect.
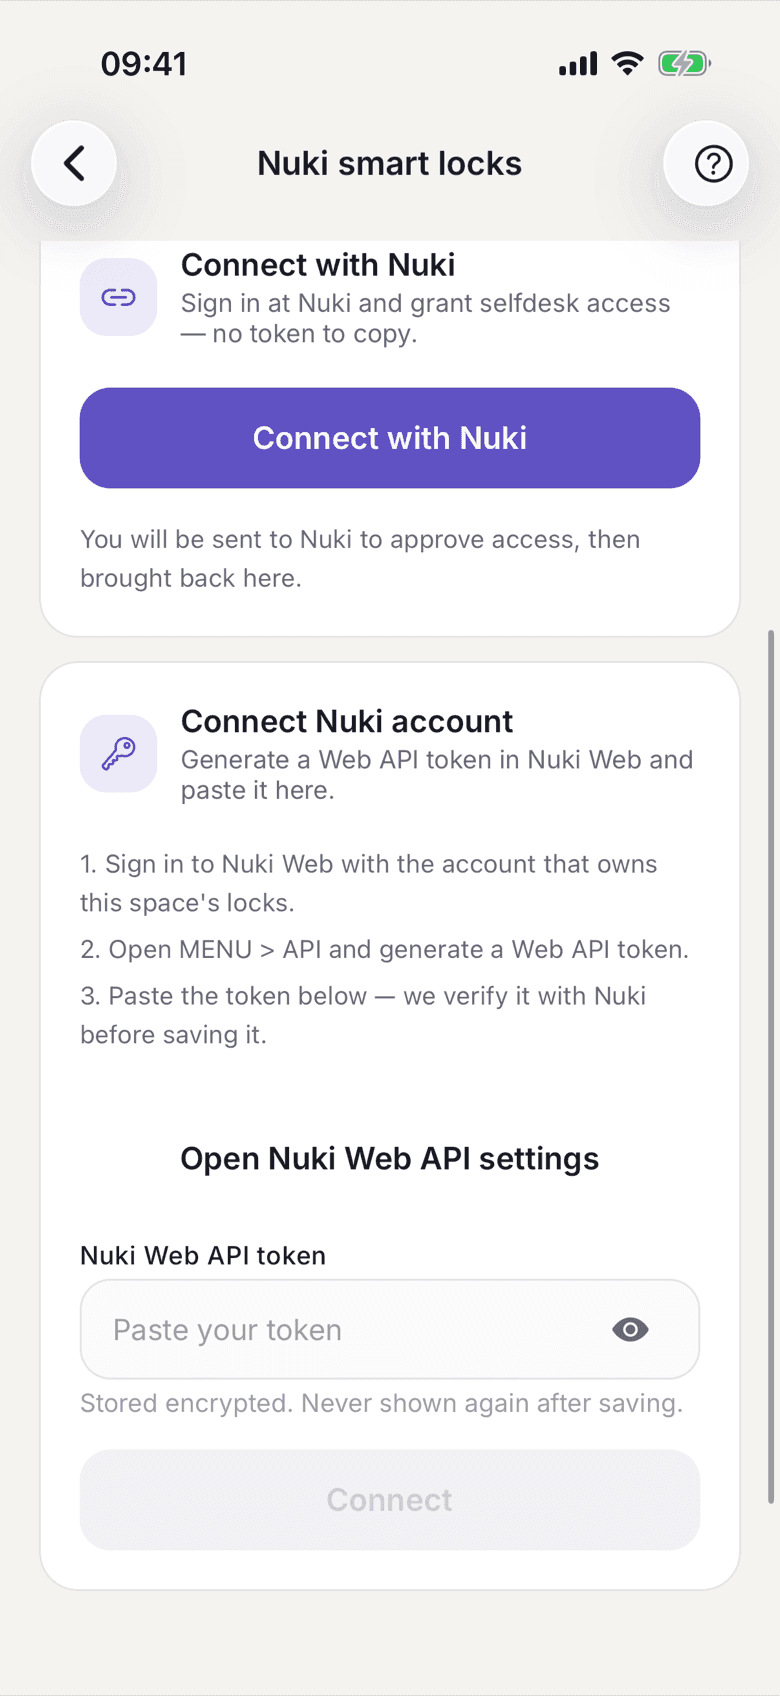
The Nuki Web API token field with the Connect button - Check under Available smart locks that this space's locks are listed. What
is missing here is also missing in the door form.
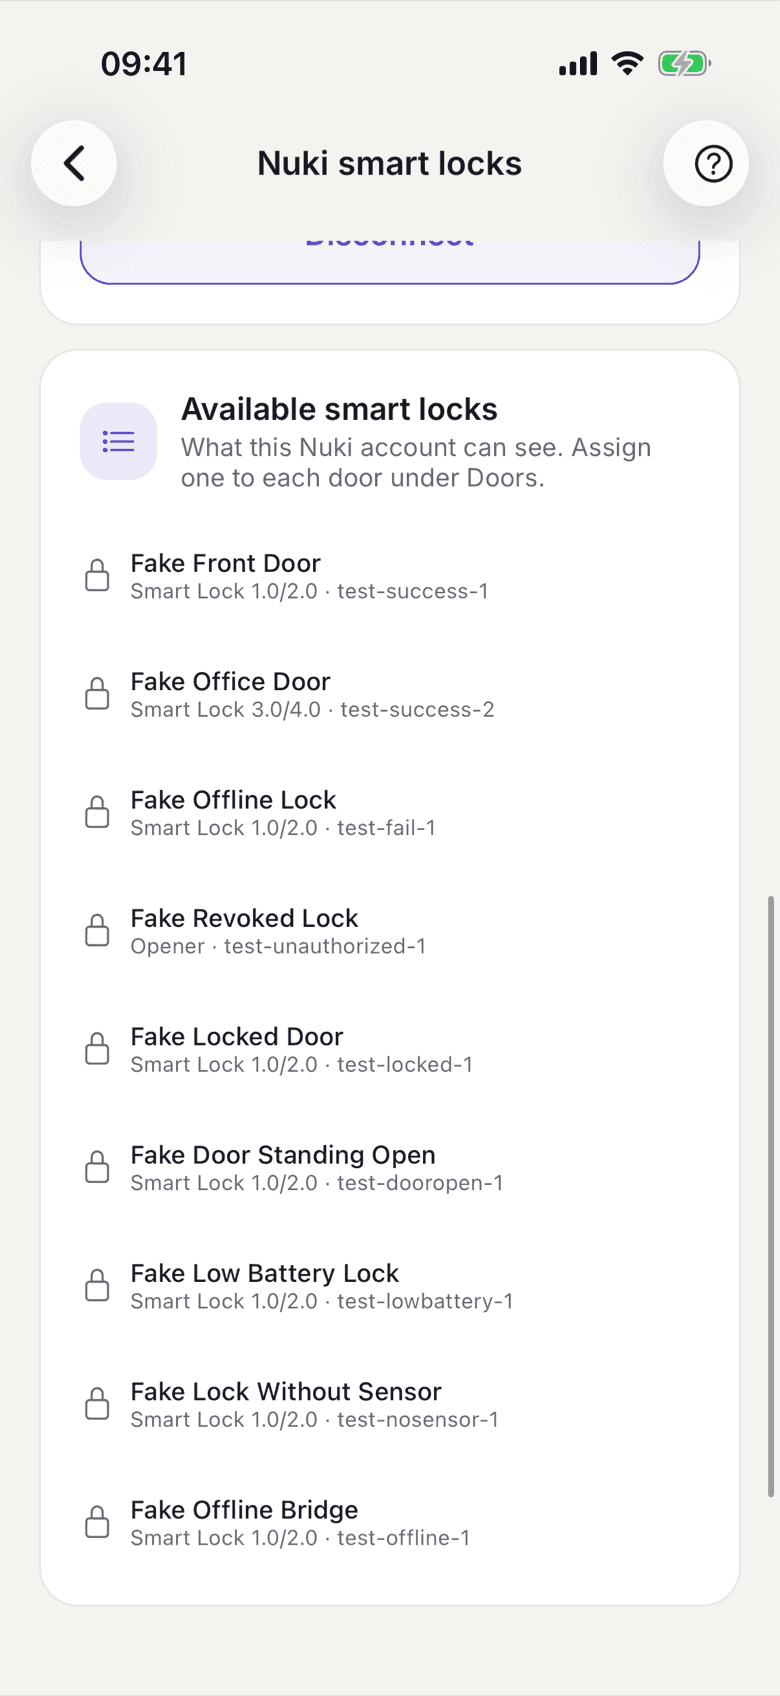
Available smart locks after connecting - Then assign one of those locks to each door, under Doors.
What applies here
- The token is stored encrypted and is never shown again after saving. To change it, paste a new one under Replace API token.
- If Connection reads Reconnect needed, Nuki has rejected the access. No door will open until you store a new token.
- Disconnect removes the account only. The configured locks stay on the doors, and reconnecting the same account needs no further setup.
- selfdesk never changes your lock's configuration. See selfdesk never changes your lock configuration.
- A tip from the connection screen: also set a nightly locking schedule in the Nuki app. It is your safety net when the last person forgets.
When it does not work