Create desk areas and desks
Areas group desks. A desk belongs to at most one area, and an area can sell seats instead of individual desks.
Desks are the first start task: without a desk nobody can book. Areas are optional and sort your desks, for example by room or by floor.
Create the areas first, then the desks. That way you can put each desk into its area while you create it.
- Open Setup and, in the Desks, rooms and doors section, the row Desk areas.
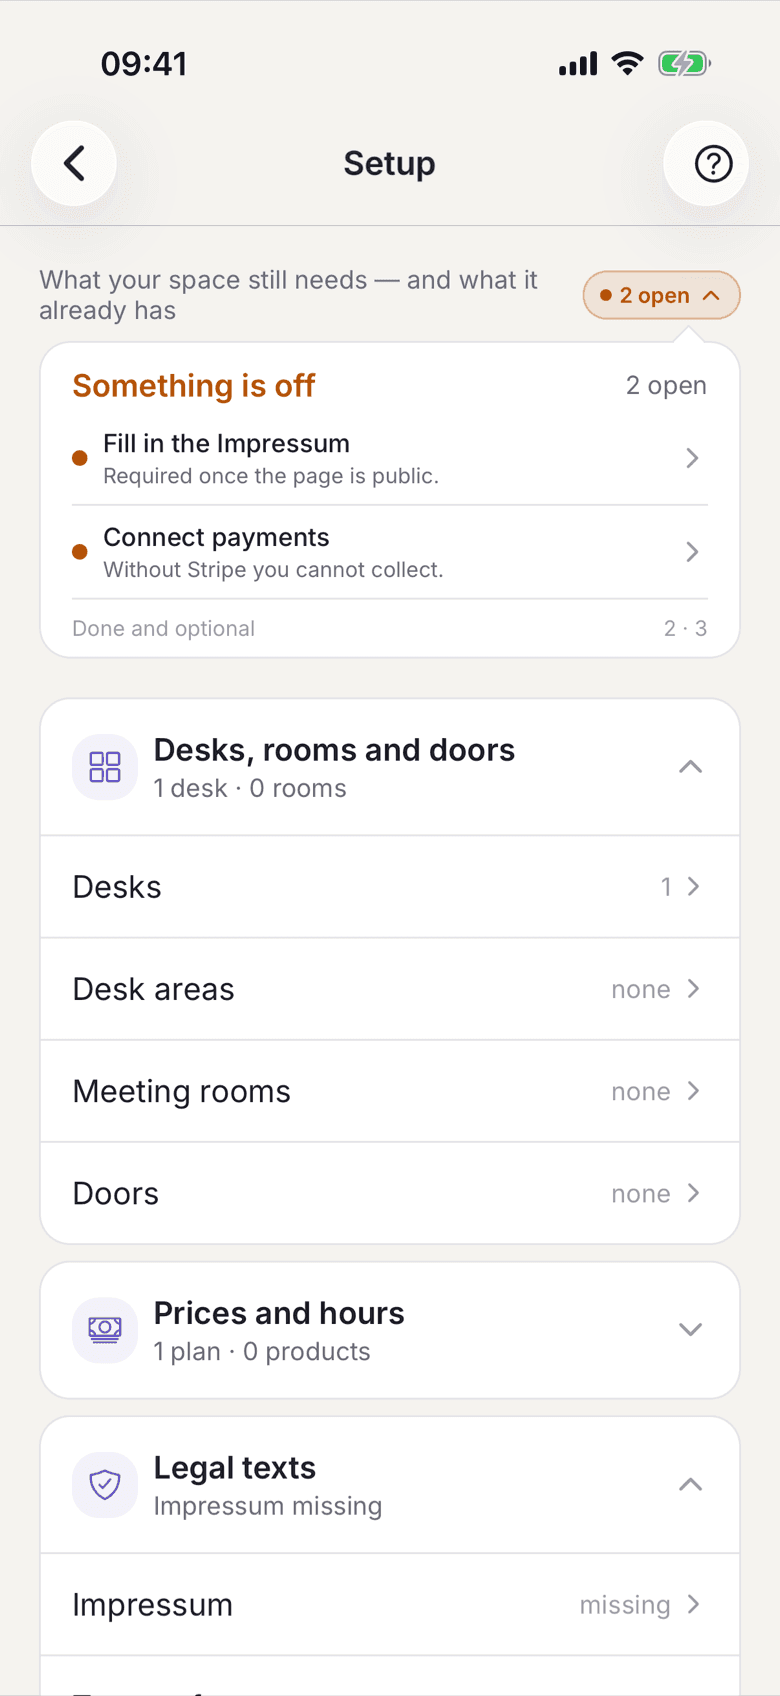
The Desks, rooms and doors section with the Desks and Desk areas rows - Create an area and give it a name. Description, image, floor and tags are optional.
- If the area should not show individual desks but only count seats, switch on seat booking and enter the number of seats.
In the app
The switch is called Area Booking, the field below it Seat Capacity.On the web
The switch is called Book a seat instead of a desk, the field below it Total seats. - Go back to Setup and open the row Desks.
- Create a desk: name, area and optionally an image. The field Location (optional) describes where it stands, for example
Gebäude B, Raum 1.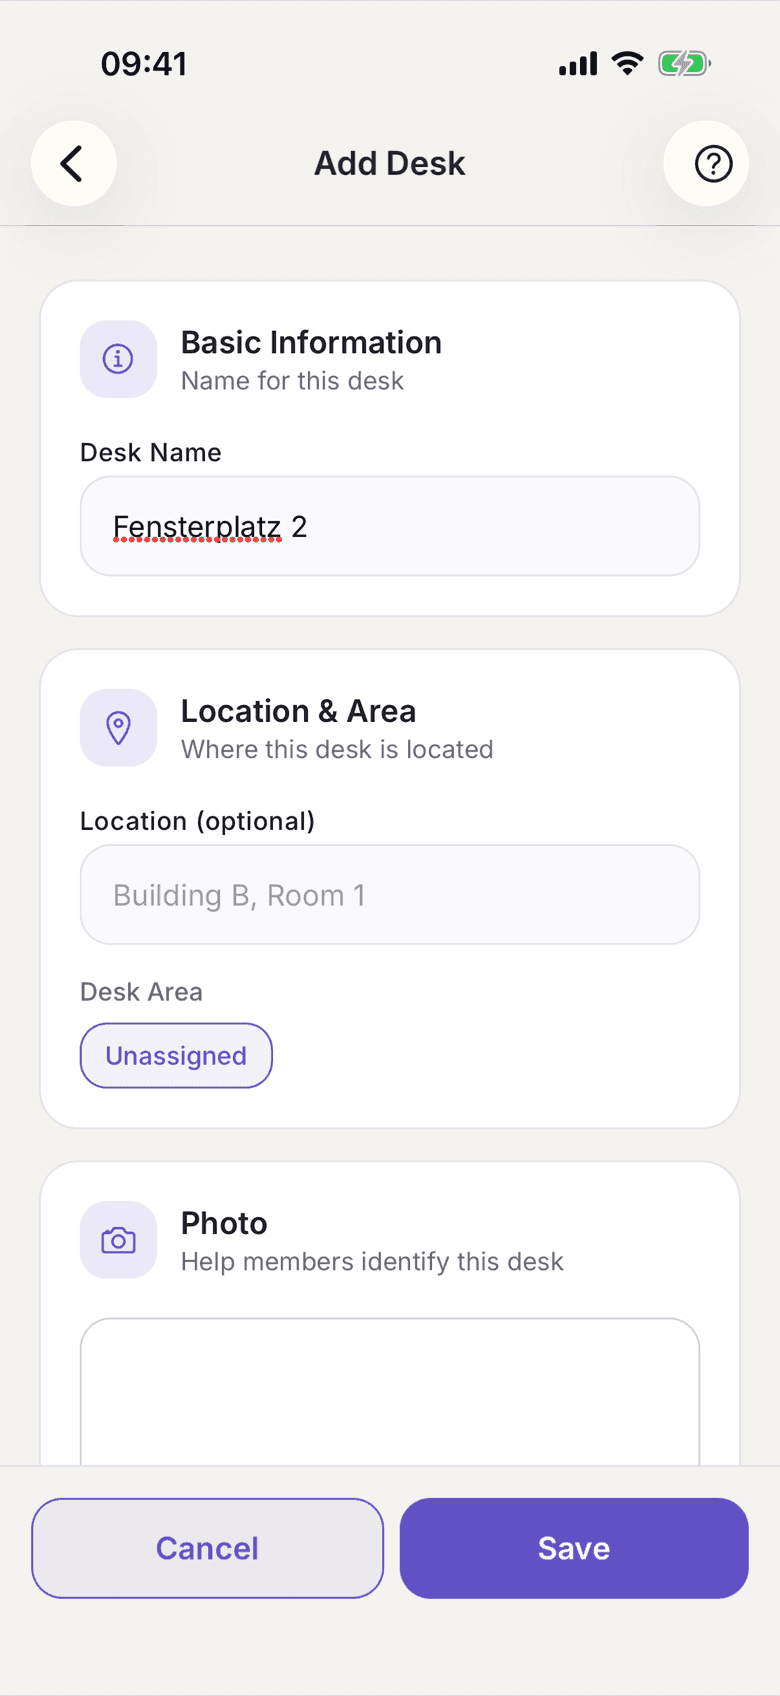
Form for a new desk with name, area and location - Repeat this for every desk. Each desk is given a sticker code automatically, and you will find that code again on the QR sheet.
What applies here
- An area with seat booking hands out seats, not desks. Its desks cannot become anybody's fixed desk. See Anonymous seating areas.
- An area that still holds desks cannot be deleted. Move the desks to another area first, or remove them.
- A desk with bookings or contracts in its history can only be archived, not deleted for good. Archived desks are no longer bookable; existing future bookings and fixed assignments stay.
- While your space is public it keeps at least one desk. See The last desk cannot be deleted.
When it does not work